Well, it's been quite a while since I've updated my blog. Took about a year off from working on Pocketship for various reasons. To cold last winter, 2013-14, to work in the 'boatyard' (garage). I did buy a propane torpedo heater and it worked great but concerned about breathing fumes and other related issues so returned it. Anyway, this entry is to catch you up to where I am presently in my build. I didn't take to many pictures and the comments are from memory but here goes.........
Centerboard Trunk: Assembly
This was fairly easy and fun. Fiberglassed the inside faces of both sides of the trunk with unthickened epoxy; cleaned up the excess fiberglass with a razor. Applied 2 more coats of the unthickened epoxy to 'fill the weave'. Sanded to a very smooth finish.
Cut the lumber for the centerboard blocking. Can't remember the type of wood I used. Clamped the blocking to one of the inside faces of the CB trunk with thickened epoxy. Sanded the joints smooth. Brushed the inner surfaces of the blocking with unthickened epoxy to waterproof; 2 coats.
Spread thickened epoxy onto the blocking and clamp the 2 CB trunk halves together well. Lots of squeeze out.......Cleaned up some squeeze out that I found inside the truck with a rag and denatured alcohol. Important! Sanded all the edges.
Keel: Lead Ballast
Was concerned about the safety factor with melting and pouring molten lead. Turned out well. Dad bought me some lead automobile weights. Also, purchased some hunks of lead from CLC. Here's a pic of the set-up:
Above is the keel assembly ready for lead ballast. NOTE: Do not pour the lead with the keel assembly in the building cradle as show in the pic above. Put in on a solid floor and be certain that it is level. I still need to reinforce the forward and aft compartments where the lead will be poured with concrete blocks.
Cleaning up the lead
Step back Jim. Not bad. Have a beer.
Centerboard: Lead Ballast
Above: I did a crappy job of fiberglassing the edges of the CB trunk. Lots of air bubbles. Might need a redo or maybe I can cut them out. Will cross that bridge later. Chesapeake Light Craft is only about an hour away. Doesn't look to bad for a rank amateur!
========================================================================
Bottom Panels
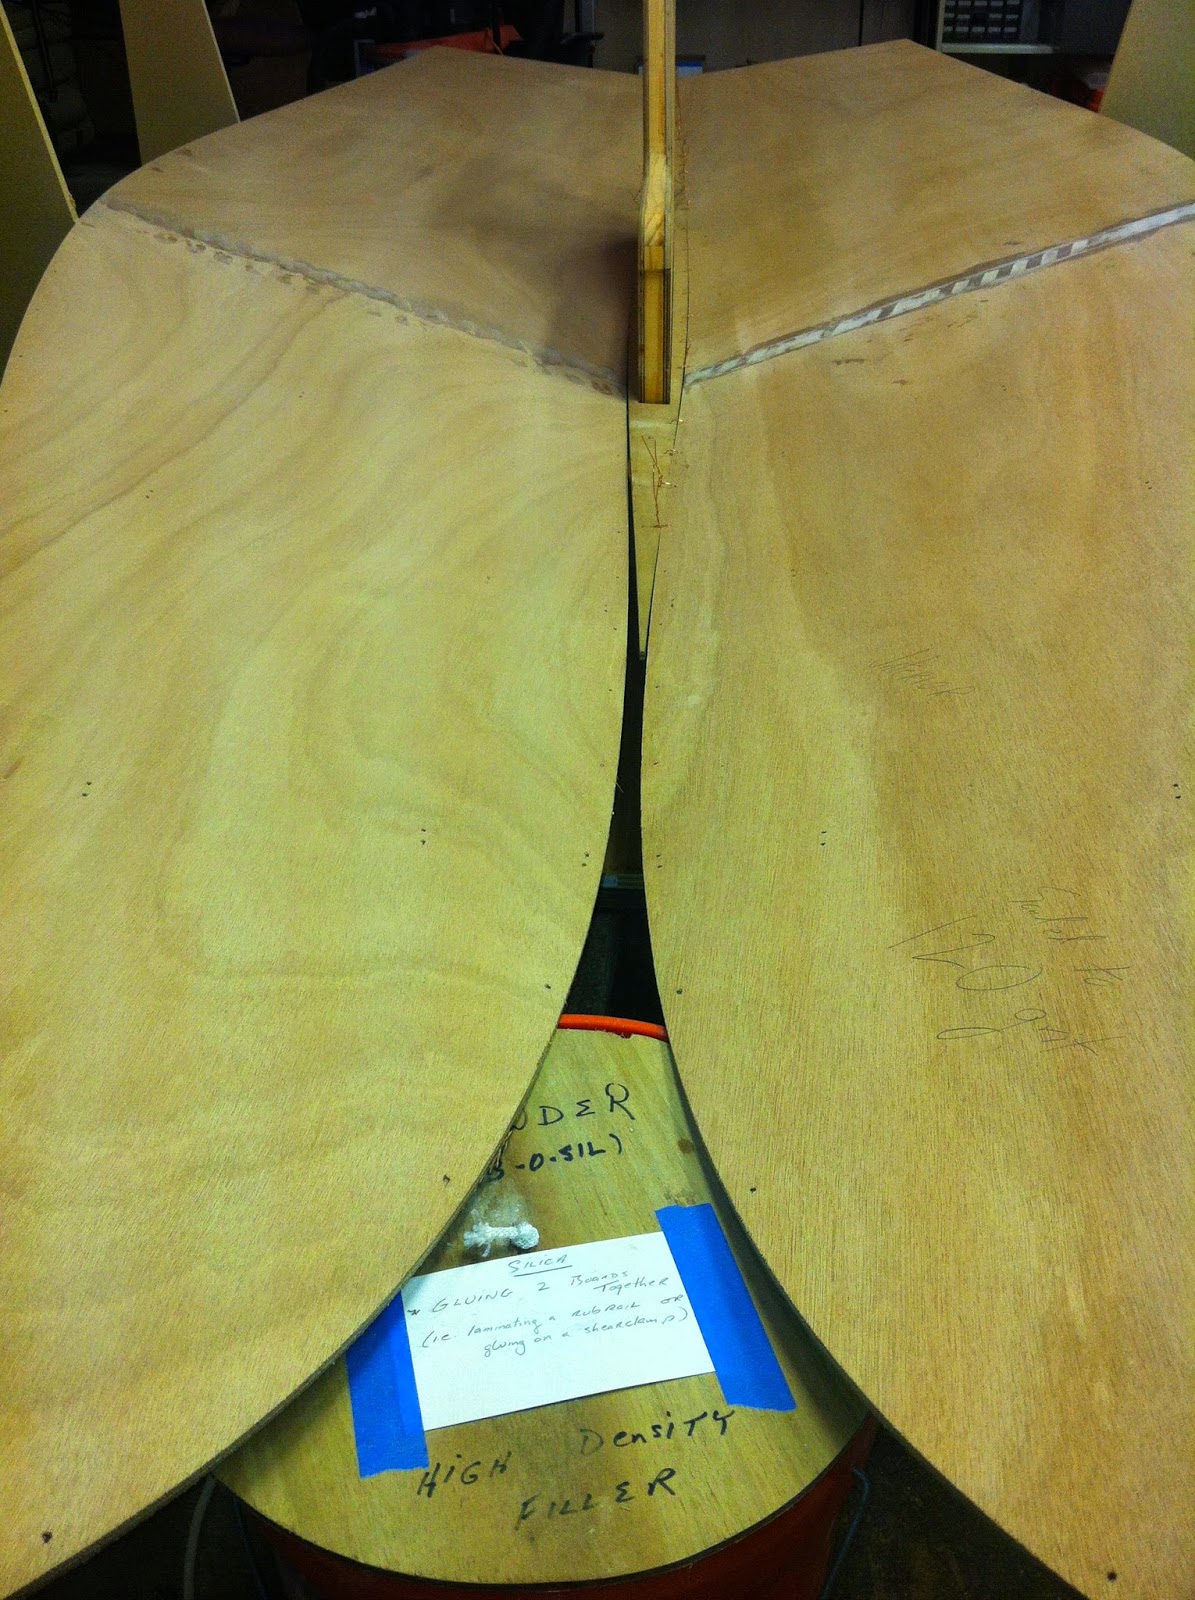
Above: The finger joint on the bottom panel was misaligned. I used some fairing putty and hardener to resolve this. Worked well and easy to sand
Port side bottom panel. Beginning to stitch to the keelson
Above: Closing that gap where the bottom panels meet the keelson towards the front of the boat was difficult. Warmed the wood with hot towels and tightened the wire stitches over the course of a few days until it finally was acceptable
Stitching the bow section was tough; real tough. Softened the wood a bit with warm towels and just brought it together slowly stitch by stitch over several days. Even used a Spanish windlass to get the last bit together. Used a lot of salty language too
Sorry, fast forward; not many pics. Side panels stitched in; bulkheads in; 'tack' welded joints with
thickened epoxy; then fillets applied. I used a mixture of 75% wood flour : 25% silica to thicken the epoxy. It seems to make the fillets easier to smooth and with fewer pock marks. Definitely use some tape as a border for your fillets. Pull the tape up about 2 hours after the fillets are applied. Be neat and clean up as best as you can.
Lots and lots of sanding with 80 grit sandpaper and every sanding tool known to mankind. Used
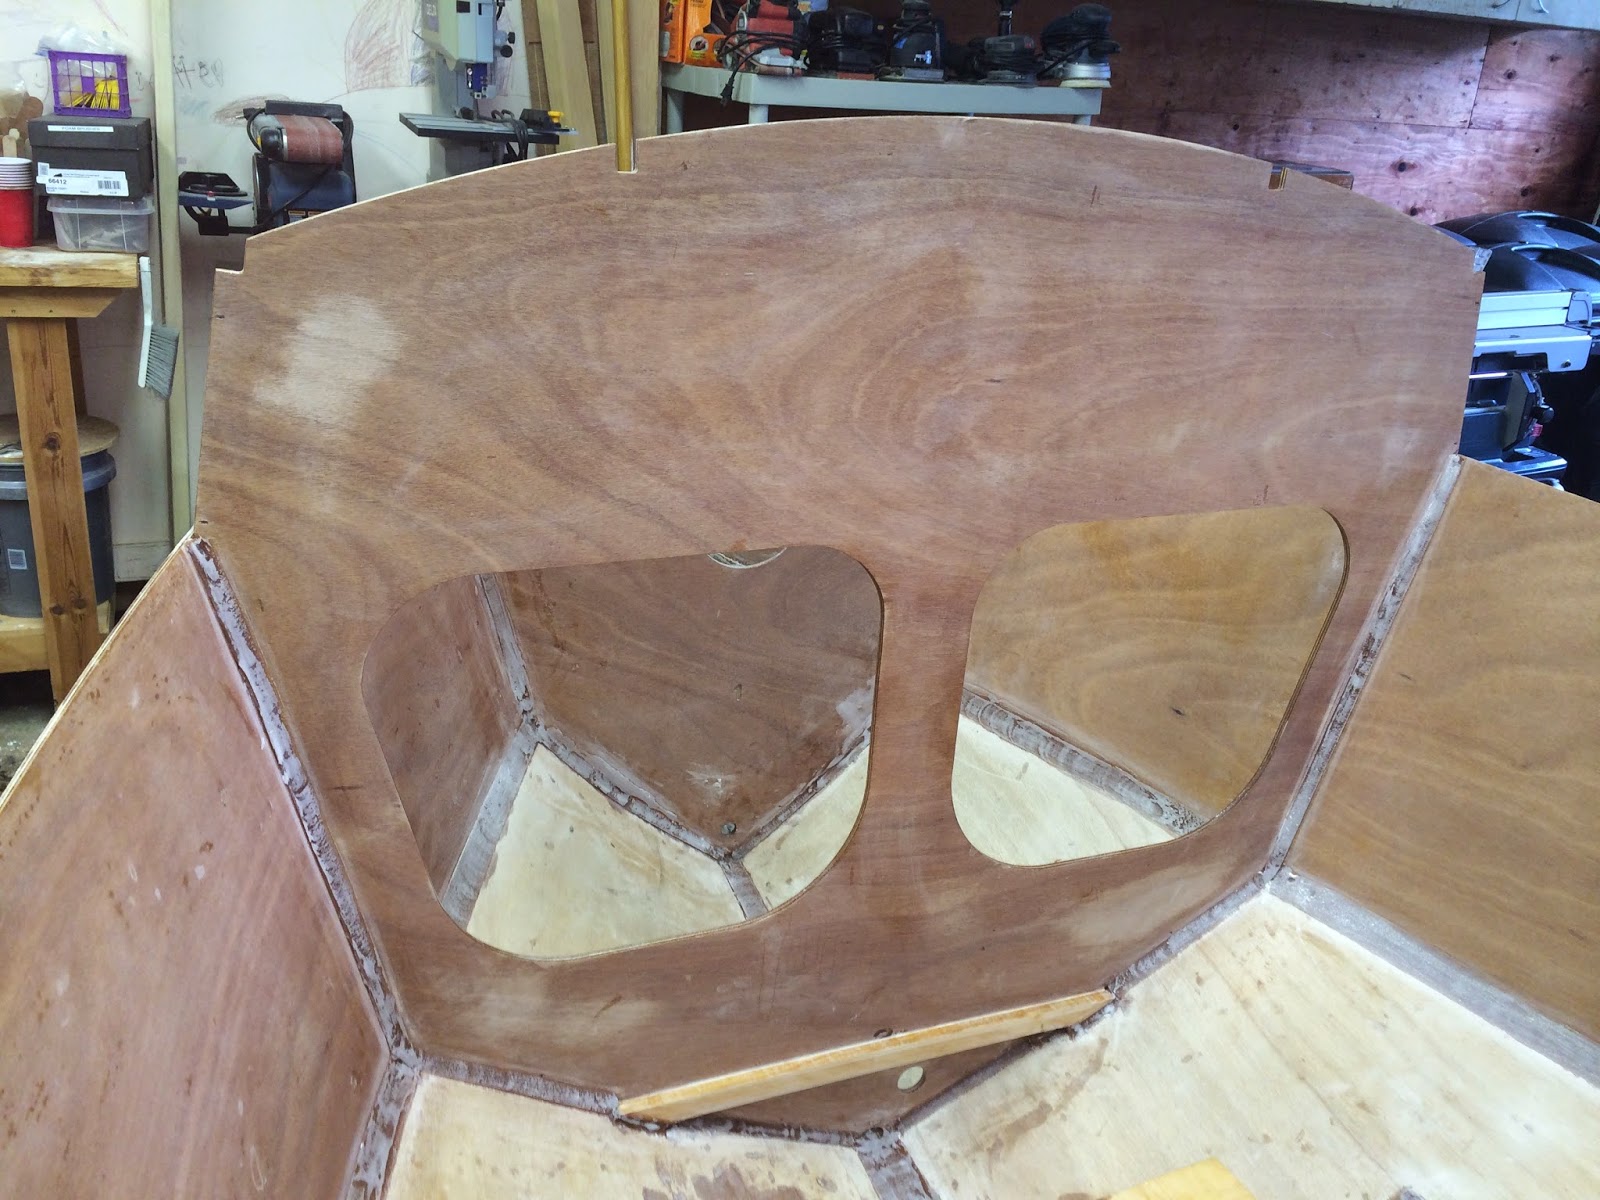
some small rubber sanding profiles covered with the sandpaper for hand sanding also. Dust protection mandatory! I 'painted' all the fillets with unthickened epoxy after sanding to smooth their surface out. I did not install the transom yet even though it's indicated in the manual. Much easier getting in and out of the boat.


No comments:
Post a Comment